How to Make a Music Visualizer for YouTube (2026 Guide)
Step-by-step tutorial: turn any track into a 4K audio-reactive music visualizer video for YouTube in minutes, right in the browser, no editing skills.
Uploading a song to YouTube with a static image works, but it leaves plays on the table. Channels that post moving, audio-reactive videos hold viewers longer, and watch time is the metric YouTube rewards. The good news: making a real music visualizer takes minutes now, not an afternoon in After Effects.
This guide walks through the whole flow in LimePulse, a browser music visualizer maker. No downloads, no plugins, and the free tier lets you build and preview everything before paying anything.
Step 1: Open the studio and drop in your track
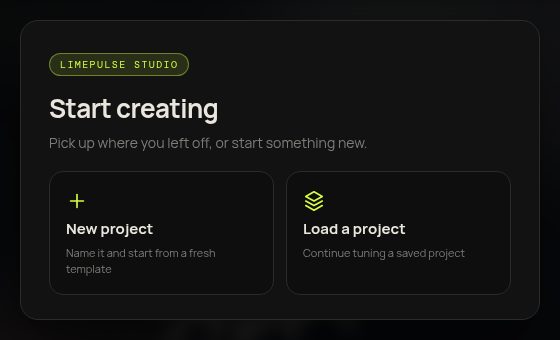
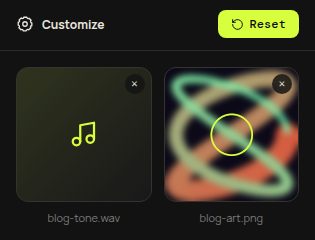
Head to the studio and start a new project. Upload your track (MP3, WAV, FLAC, M4A, AAC or OGG, up to 10 minutes) and your cover art. Square art around 3000x3000 works best, but any decent image does the job. No cover yet? The built-in AI artwork generator can make one from a text prompt.
Step 2: Pick a template
The template list sits on the left of the studio. Spectrum bars, waveforms, radial rings, spinning vinyl, editorial typography: every template is audio-reactive, meaning the visuals move from your actual audio frequencies, not a fake loop.
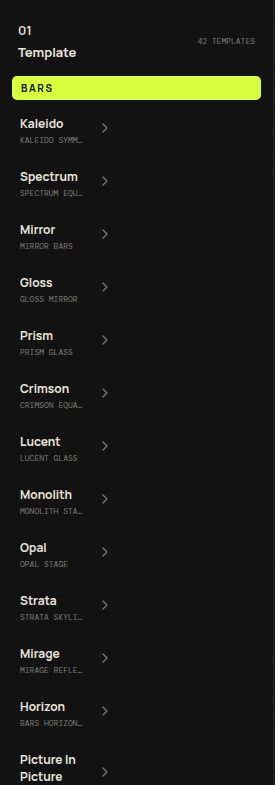
Not sure where to start? Kaleido and Spectrum are classic YouTube looks, Vinyl suits lo-fi and soul, and the full gallery has a live demo of every style.
Step 3: Choose the YouTube format
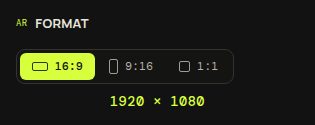
For a standard YouTube upload pick 16:9 (1920x1080 design, exported in 4K). If you also want a Short from the same track, render the 9:16 version afterwards; every template re-flows its layout per format instead of just cropping.
Step 4: Make it match your brand
Set your background style, colors, fonts and text. Song title and artist name are separate text fields with their own sizes, and there are 75 font families to match your cover art's vibe. The preview reacts to every change instantly.
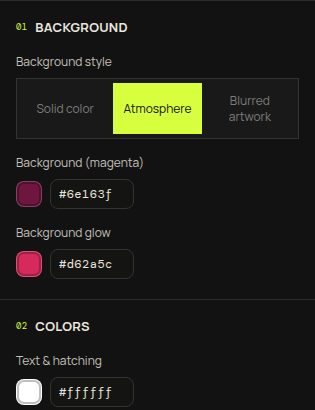
One thing that surprises people: in LimePulse the preview is the render. The studio preview replays the exact per-frame audio analysis the render engine uses, so the video you download matches what you saw while editing. No render roulette.
Step 5: Render and upload
Hit Render video. The export is a clean 4K H.264 MP4 at 60 fps with no watermark. Upload it straight to YouTube, and if you want the best playback quality, read why the 4K container matters even for a visualizer.
- Title the video with your track and artist name, plus the phrase music visualizer if it fits naturally
- Drop your streaming links in the first two description lines
- Use a frame from the visualizer as the thumbnail so the feed matches the video
That is the whole workflow. Building and previewing is free, so try it with one of your tracks and see how your music looks in motion.